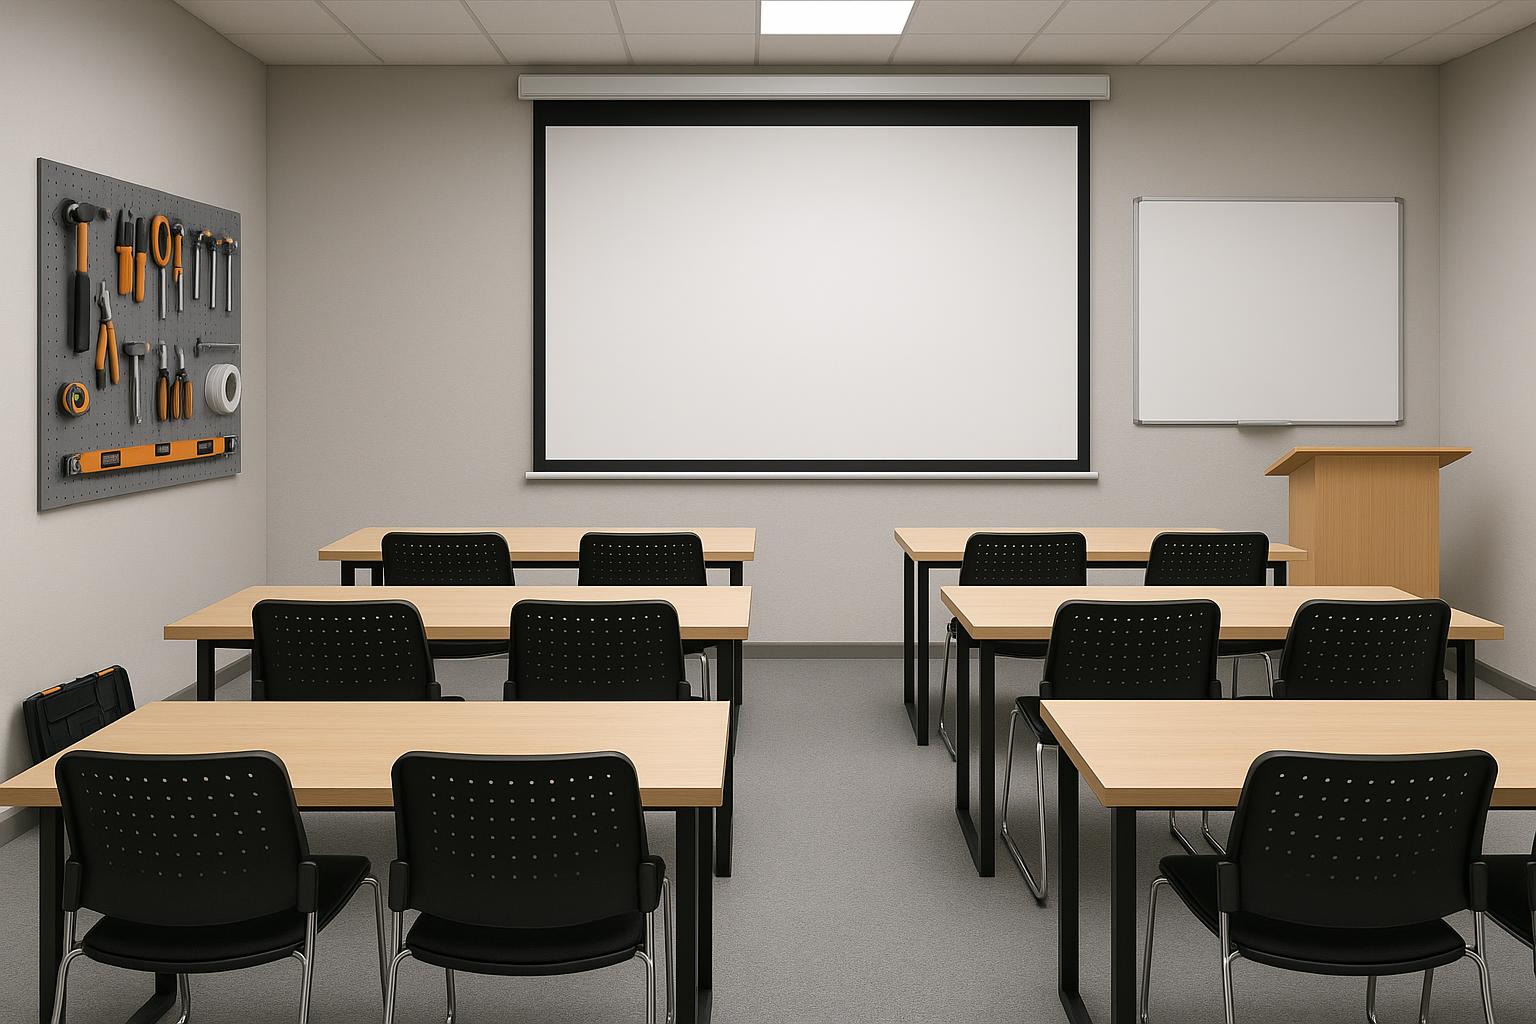
A training room involves several decisions: layout, furniture, technology, and acoustics, each with a different cutoff for DIY. The planners who get the best rooms don’t pick a side. They keep simple work in-house and pay for help where a mistake is hard to undo.
Table of Contents
Start with what the room has to do
Before you measure anything, write a one-page brief that says how the room will actually be used. List headcount for the largest session and the smallest one. Note if people will use laptops, take notes on paper, or do both. Include whether the same space must host all-hands meetings and team workshops between classes.
Without that brief, furniture can solve the wrong problem. Forward-facing lecture rows may be awkward for group work, while laptop sessions need room for devices and a suitable charging plan. A space that must change between uses may benefit from mobile furniture and dedicated storage for spare chairs.
Your brief doesn’t need fancy language. It needs session type, group size, table layout, tech needs, and storage needs. That one page will guide every later choice about furniture and the power and AV systems that support it. It also keeps vendors honest, because you can hand the same brief to each one and compare replies.
If you DIY this part, you’re in good company. No outside designer knows your training cadence better than you do. Bring in a pro only if the brief reveals conflicts you can’t resolve, like a room that must seat 30 for lecture but also split into small groups with clear paths to exits.
Test layouts before you buy anything
The four common setups are classroom, chevron, U-shape, and cabaret. Classroom packs rows of tables facing forward. Chevron angles those rows toward the center for better views. U-shape opens the middle so people can see each other. Cabaret uses round or square clusters for group tasks.
Don’t pick from a catalog photo. Tape the layout on the floor with painter’s tape and set out borrowed tables and chairs. Walk the aisles, then sit in the back row. Try to get out of a middle seat while bags and laptops are out. You’ll learn more in 30 minutes than from any floor-plan sketch.
Pay close attention to paths. People need room to slide chairs back and stand, with enough space for others to pass without squeezing past neighbors. Leave clear access to doors and keep exit paths open at all times. If the room has columns, low ceilings, odd angles, or tight doors, that’s a good time to ask a space planner to review clearances and accessibility.
Tape is cheap.
Some training tables offer ganging connectors to link compatible units into a row. Confirm whether those connectors are included or optional on the model you choose. If the room must switch between lecture rows and group work, test that change with the staff who will handle it. Check for awkward reaches, pinched fingers and hardware that needs tools. Then decide whether the reset time fits your schedule.
Check sightlines from real seats
Sightlines deserve an early test, not an assumption based on display brightness. Trainees need to read the screen from their assigned seats without sustained awkward leaning or turning.
Set a sample screen or even a paper mockup where you think the display should go. Then sit in the first row and the last row, and try both side seats. Can you read small text from the back? Check whether heads and laptop lids block the bottom of the image, and whether people in side seats have to twist to follow slides. Small shifts in table depth and row spacing change the answers fast.
Don’t rely on a simple rule for screen height. Room length, ceiling height, display size, and seating layout all interact. A low screen can get blocked by heads. A high screen can strain necks in front rows. Check glare, ambient light and whether any camera or other equipment obstructs the view.
This is where a short AV consult helps. Ask for legibility guidance based on your farthest seat and your display size. Ask where cameras and mics should go if you run hybrid sessions. Then test those recommendations with people sitting in the room before you fix mounts and furniture positions.
Sort out power and data early
Power is the least visible system and the hardest to fix after floors are finished. Trainees expect a plug within reach, and trainers expect reliable connectivity for demos and video. If cords have to cross aisles to reach walls, you don’t have a finished room.
Start by mapping how many seats need power and where the instructor station will sit. Grommets provide cable openings, while compatible power modules can put outlets within reach of laptops. Confirm which accessories are included and how the modules receive their power. Floor boxes and power poles can feed those modules from below or above. Each approach has tradeoffs in cost and flexibility, as well as how much floor or ceiling work it needs.
DIY can handle the mapping, but leave the wiring to a professional. Any new circuits, floor cores, or changes to distribution need a licensed electrician and building approval. Built-in table power helps with reach, but it does not replace safe circuit planning or load review.
Ask the electrician for a simple power plan that shows source, path, and outlet count. Walk it with your taped layout to make sure cords won’t cross paths. It’s far cheaper to move a floor box on paper than to cut concrete after training dates are set. Once the slab is poured, changes are harder, so get this part signed off before you order furniture.
Specify tables for daily movement and regrouping
Specify tables for the handling your room requires: linking rows, moving between layouts and cleaning between sessions. If storage involves stacking or nesting, confirm the model is designed for it and measure the stored footprint. Check that staff can follow the handling instructions without damaging tops or straining to move the frames.
Ask for any applicable commercial table test documentation and inspect the model’s frame, fasteners and top construction. Laminate tops are one option to compare; check the exact surface’s care instructions and repair options. Table height alone does not establish usable knee space, so inspect the legs, crossbars and any under-top equipment too. For long computer sessions, compare fixed-height and adjustable options with the chairs people will use.
Casters change how the room functions. On mobile tables, test the brakes and confirm that the table stays steady when people write or lean normally on it. Check the wheels on your carpet, hard floor and thresholds rather than judging by wheel size alone. Operate the locks as the manufacturer instructs, and make sure staff can reach them without awkward bending or trapped fingers.
When comparing office training tables, look at the available sizes, shapes, materials and mobile options against your tested layouts. Confirm ganging compatibility separately; wheels do not mean a table can link to its neighbor. Choose tabletop depth by setting out the actual laptop, notebook and other materials trainees use. A consistent size may simplify resets, while a mix can suit different tasks if staff have a clear plan for arranging and storing it.
Order one sample before you commit. Gang it, sit at it, plug in, roll it, and clean it. Inspect the edge banding and leg welds, then check how ganging hardware feels after repeat use. Furniture is easy to swap later compared with wiring or acoustics, but a sample still saves returns and restocking hassle.
Know where a professional earns the fee
Think in terms of reversibility. Professional input is especially useful for work that is costly to redo. Keep in-house control where your team has the time, skills and information to make a sound decision.
AV integration belongs in the first group. Display size, speaker placement, mic coverage, and camera angles have to work together. A pro should provide a line diagram and specify mounting heights and cable paths tied to your taped layout. Ask for a live test from the back row with mics on and room noise up.
Acoustics belongs there too. Hard walls, bare floors, and low ceilings bounce sound and tire listeners. Carpet and ceiling tile help calm the room, as do wall panels, while sound masking can help in open areas near the training space. You can clap-test a room yourself for echo, but treatment choices go better with measured advice.
Electrical changes and complex space plans round out the list. If you need new floor power, added circuits, or lighting control, get licensed help and permits. If the room shape is tight or must meet detailed clearance and egress needs, ask for a scaled plan with dimensions, door swings, and paths marked. Those drawings are your deliverables, not a mood board.
Furniture procurement, by contrast, is a good DIY task once specs are set. Standardized modular tables and stackable seating are straightforward to compare by size, top material, frame, ganging, and casters. You don’t need a full design contract to buy well.
Run a hybrid build that stays on schedule
A hybrid path can balance control with specialist support. Your team handles the brief and practical layout tests, then brings in scoped help for the parts it cannot confidently resolve. Give each professional the same requirements and appoint one person to coordinate their advice. A more complex renovation may need a lead designer or project manager rather than separate consultations.
Split the budget into clear groups so tradeoffs stay visible. Use one group for construction and electrical, one for AV and acoustic treatment, and one for furniture and install. That split makes the cost of moving and resetting the room visible alongside the purchase price, since install, maintenance, and future resets add up over time.
Build acceptance checks into each group. Tables should not rock when ganged. Casters should lock and release without force. Participants should be able to read the screen from every seat and reach power without stretching cords across paths. Mics should pick up a soft voice from the back. The room should stay intelligible with the door closed and the HVAC running.
Schedule furniture delivery around electrical and AV completion, not around the first class date alone. Leave a week to live in the room, run a pilot session, and adjust spacing. That pilot will tell you whether aisles are tight or storage is short, and whether instructors need a different table for demos.
A training room earns its floor space when it can change shape without drama. Plan the hard systems with help, spec sturdy modular furniture yourself, and test everything with real people. You’ll end up with a room that teaches well on day one and still works when the next course needs a different setup.