In a nutshell, a workflow diagram is a diagram that depicts a series of actions that define how a task (or work) should get done to achieve business objectives.
Using a workflow diagram, we can easily visualize the various tasks involved in a project and who is responsible for executing the tasks. It is a very useful method to design, analyze, optimize, and communicate business processes, which can help generate real results.
A workflow diagram visualized illustrates how tasks flow between different resources and what conditions allow the resource (machine, people, etc.) to move forward to the next task or step. Typically the workflow diagram is illustrated with a flowchart, and in this guide, we will discuss how to create a workflow diagram quickly and effectively.
Table of Contents
Understanding The Shapes In a Flowchart
A workflow diagram is a type of flowchart, that is explicitly designed to describe the movement of tasks from one resource to another.
A flowchart, as we know, consists of symbols and shapes, and understanding the meaning of these shapes is essential in creating a workflow diagram:
- Rectangle: signifies process, and we can fill it with instructions or actions
- Oval: signifies the beginning and end of a process, typically only found at the edges of the workflow diagram
- Diamonds: diamond shape signifies decisions, typically in the form of questions and followed with choices (yes/no or others) as answers
- Arrows: connect the shapes with descriptions of the relationships between the two shapes
- Parallelograms: represent input or output
Each shape and arrow, as you can see, represents a stage, and each stage can get assigned with one of the following ‘statuses’:
1. Input
Input is anything that will affect the following step. An action, decision, the use of equipment, decision, or a resource, can be an ‘input.’ For example, if the workflow diagram is about a manufacturing business, then an input can be ‘start the conveyor belt’ that you’d put inside a rectangle shape.
2. Transformation
The changes that inputs must go through to produce the output. This can refer to physical changes (in the case of manufacturing), location changes (i.e., the product moves from the factory into a shop), changes in purpose, and so on.
3. Output
The output represents what happens after the transformation process, the finished product of the workflow diagram.
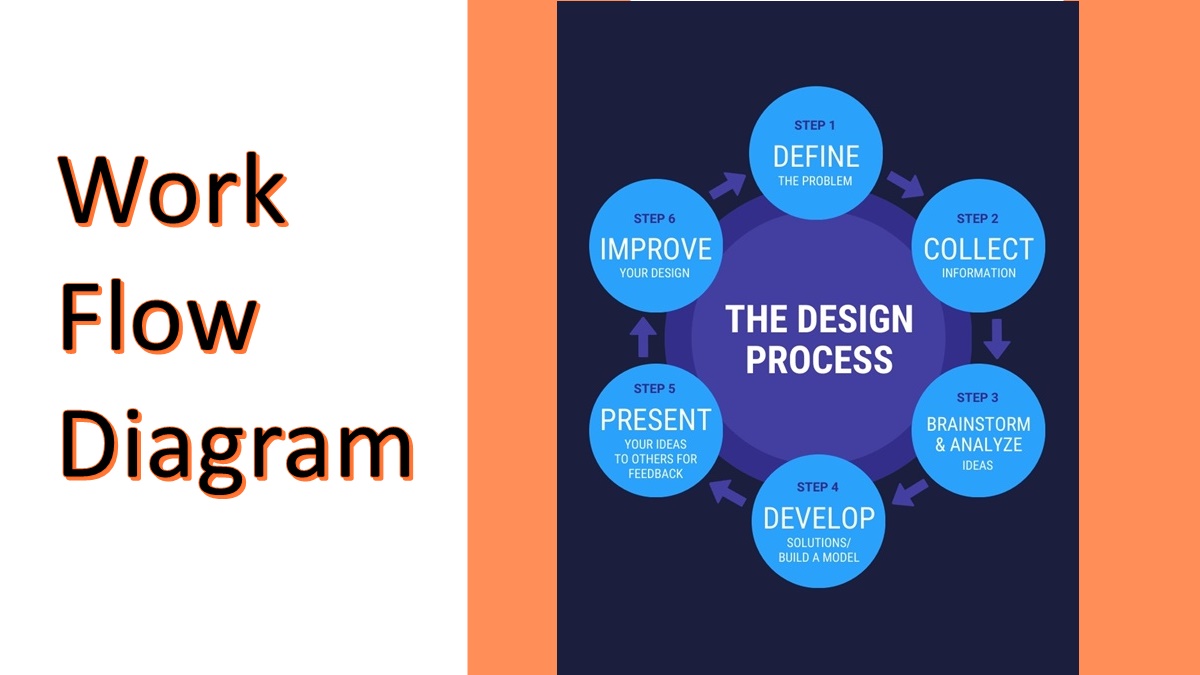
How To Create a Workflow Diagram
Step 1: Identify the Business Process
A business process here refers to a repeatable set of tasks, performed in steps. We have to differentiate between a process and a project. A project is any collection of tasks/work completed in a single time to achieve a specific result, and it’s only a ‘real’ process when it’s repeatable.
You’ll need to figure out what process you will track in this workflow diagram and your objective of doing so. Also, consider who will see/use the workflow diagram and make sure they can understand every element of the diagram.
Step 2: Name the Process
Naming is essential to ensure everyone reading the diagram can understand it right away. Make sure to be clear and specific; for example, “Check Calendar for Conference Call” is much clearer and more precise than “Check Conference Call Process.” Don’t be afraid to be as specific as possible and avoid broad names.
Step 3: Identify a Clear Beginning and End of the Process
Having a clear start point and endpoint is very important for any business process, and yet is often overlooked by many. Make sure you have a clear start point, and an end goal with any process before you even think about the workflow diagrams middle.
The best way to do this is to figure out the first activity that must happen before the process can start. This is the start point. The endpoint is the last activity that signifies that the process is complete is the endpoint.
Step 4: Collect Information
It’s important to note that the diagram’s granularity would depend on the objective of the diagram in the first place. For example, the diagram might be developed to determine the cause of known errors or improve efficiency.
Based on this purpose, gather information to ensure your workflow is as accurate and granular as possible. Talk to as many relevant people as required. List all the tasks and activities that might be relevant and who is in charge of these tasks.
Also, list timelines, potential deviations, potential improvements, and potential issues/bottlenecks.
Step 5: Design your steps
Based on the information you’ve gathered above, integrate every task/step into the diagram. Use decision (diamond-shaped) boxes to capture potential variations in the process. You can use pen and paper (or a whiteboard) for the initial draft, but workflow automation and mapping tools like Aproove are easy enough and intuitive to use. Review the draft and polish it carefully.
Step 6: Look for Patterns, Options, and Exceptions
Look for additional details that you can put into the diagram. For example, if your main workflow is to send reports via email, is sending via other platforms also possible? Add the necessary information to your workflow diagram. You can use a decision (diamond) box to visualize these variations.
Step 7: Analyze and polish
Check if you can shorten the processes or if you can improve the cost-efficiency of certain tasks. Check for any bottlenecks you can eliminate and whether you can improve the efficiency of the workflow through workflow automation.
End Words
Once you’ve designed the workflow diagram, you should re-analyze your processes and review the tasks. If necessary, you can repeat the workflow design. Tools like Aproove can help the process of designing and refining a workflow diagram much simpler and easier, and since it is a cloud-based tool, your entire team can work with it simultaneously.
Be sure to share your diagrams with your team member and let them help evaluate. They might be able to provide valuable insights into how you can further improve the diagram.