
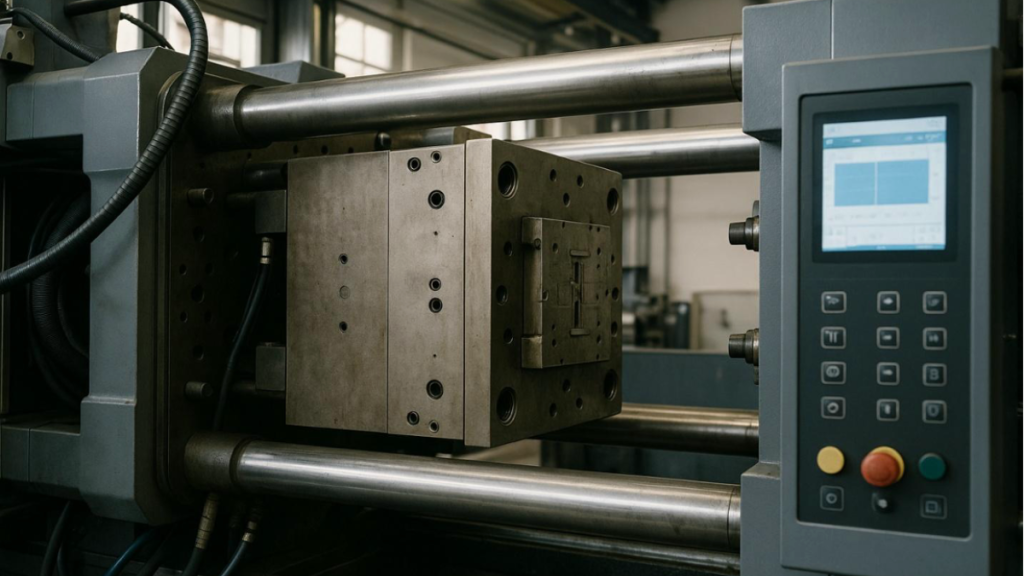
Wall thickness is one of the most critical factors in injection molding design. It directly impacts part quality, manufacturability, structural performance, and production efficiency.
Choosing the right injection molding wall thickness affects how the plastic flows through the mold, how well it cools, and how consistently it maintains shape and dimensions after ejection. Whether you’re designing consumer products, medical components, or industrial housings, improper wall thickness can lead to defects such as warpage, sink marks, short shots, or even part failure in the field.
Understanding how to optimize wall thickness is essential not just for product quality but also for reducing cycle time, minimizing scrap, and ensuring long-term performance.
What Is Wall Thickness in Injection Molding?
In injection molding, wall thickness refers to the distance between the inner and outer surfaces of a molded part — essentially how thick each section of the part is. This thickness controls how the molten plastic flows, cools, and solidifies in the mold cavity.
Designing for uniform wall thickness is one of the foundational best practices in injection molding. When wall thickness is kept consistent across the part, it promotes predictable flow, minimizes internal stress, and ensures even cooling. In contrast, abrupt thickness variations often result in defects due to uneven shrinkage or incomplete mold filling.
Typical Wall Thickness Ranges
Different thermoplastics have optimal wall thickness ranges based on their flow characteristics, shrinkage behavior, and mechanical properties. Below is a general guide to typical wall thickness values for common injection molding materials:
| Material | Typical Wall Thickness Range (mm) |
| ABS | 1.2 – 3.5 |
| Polypropylene (PP) | 0.8 – 3.0 |
| Polycarbonate (PC) | 1.0 – 4.0 |
| Nylon (PA) | 0.75 – 3.0 |
These values are not rigid rules but starting points. The final wall thickness depends on part geometry, structural requirements, aesthetic demands, and mold design.
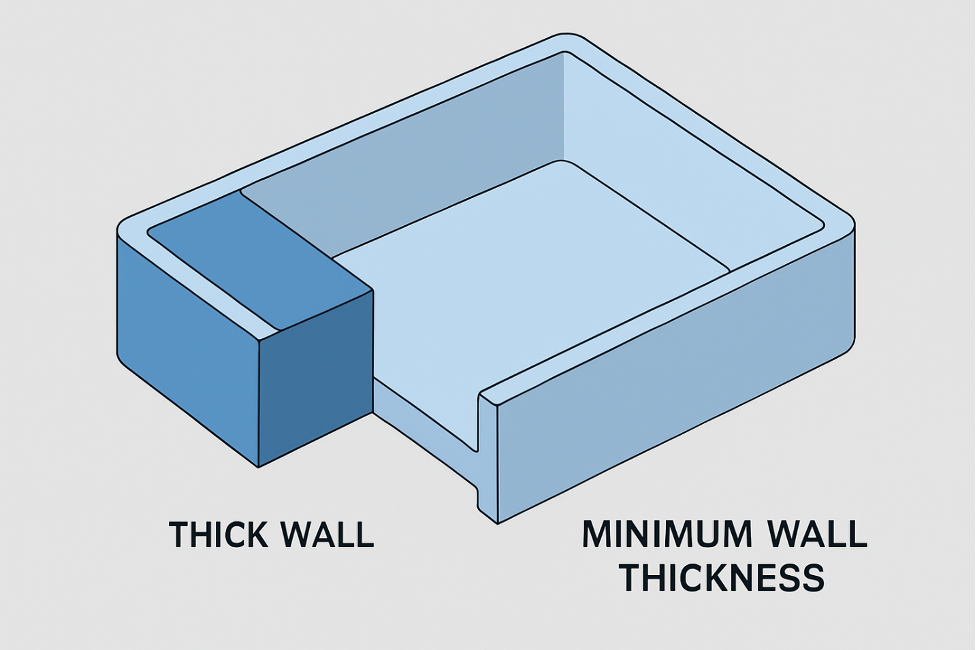
Problems with Thick Mold Walls and Too-Thin Walls
Both excessively thick and too-thin walls can introduce significant challenges in the injection molding process.
1. When Walls Are Too Thick (Thick Mold Sections)
While thicker walls may seem like a safe choice for strength, they often backfire in plastic part design. Key problems include:
- Longer Cooling Time: Thicker sections retain heat longer, increasing cycle times and reducing production efficiency.
- Sink Marks and Voids: As the interior of thick sections cools and shrinks, it can collapse inward or create internal air pockets.
- Uneven Shrinkage: This can cause warping and dimensional inaccuracies.
Design Tip: Use gradual transitions in wall thickness and core-outs (hollowing thick areas) to reduce material volume while preserving strength.
2. When Walls Are Too Thin
On the other end of the spectrum, very thin walls can cause their own set of problems:
- Short Shots: Molten plastic may not reach all areas of the mold, leaving incomplete parts.
- Warping: Thin walls cool too quickly and unevenly, making the part prone to distortion.
- Inconsistent Filling: Thin areas increase flow resistance, risking internal voids or incomplete features.
Minimum wall thickness for injection molding depends on the material used, but going below the recommended range significantly raises defect risks.

How to Design for Optimal Wall Thickness
Designing the optimal injection molding wall thickness involves a mix of engineering principles, simulation, and experience. Here are best practices to guide you:
1. Maintain Uniformity
- Aim for consistent wall thickness throughout the part to reduce flow and cooling inconsistencies.
- If changes are needed, make them gradual — transitions should ideally occur over a length 3–5 times the wall thickness.
2. Avoid Abrupt Changes in Thickness
- Sudden increases or decreases in thickness create stress concentration points and promote defects like weld lines and voids.
- Use fillets, tapers, or ribs to smooth out transitions.
3. Use Ribs Instead of Solid Sections
- Instead of thick walls for structural strength, incorporate ribs and gussets.
- Ribs increase stiffness without adding bulk, aiding in faster cooling and minimizing warpage.
4. Use Simulation Tools
- Leverage mold flow analysis to predict how molten plastic will fill the mold.
- Simulations can identify potential problems like air traps, sink areas, and weld lines before tool fabrication.
5. Collaborate Early with Mold Designers
- Engage your tooling and manufacturing partners early in the design process.
- Toolmakers can suggest practical adjustments based on experience with similar parts and help tailor the wall thickness for manufacturability.
HordRT’s Support for Wall Thickness Design
HordRT specializes in helping clients achieve the ideal balance between design intent and manufacturability. Their experienced engineering team offers:
- DFM (Design for Manufacturability) analysis
- Mold flow simulations
- Rapid prototyping for wall thickness testing
- Guidance on material selection and part optimization
They work closely with clients from concept to production, ensuring every part achieves high performance, low defect rates, and efficient moldability — especially when it comes to wall thickness design.
Conclusion
Wall thickness is not just a design parameter — it’s a critical success factor in injection molding.
To summarize:
- Typical wall thickness varies by material — ABS (1.2–3.5 mm), PP (0.8–3.0 mm), PC (1.0–4.0 mm), and Nylon (0.75–3.0 mm).
- Maintain uniform wall thickness whenever possible and avoid abrupt transitions.
- Too thick walls can lead to sink marks and longer cycle times; too thin walls can cause short shots and warpage.
- Use simulation tools and consult experts early in the design phase.
- Partner with manufacturers like HordRT who offer engineering support for optimal results.
Never leave wall thickness to guesswork. Optimize it early, validate with data, and consult your manufacturing partners. It’s the key to unlocking high-quality, cost-effective injection molded parts.
