
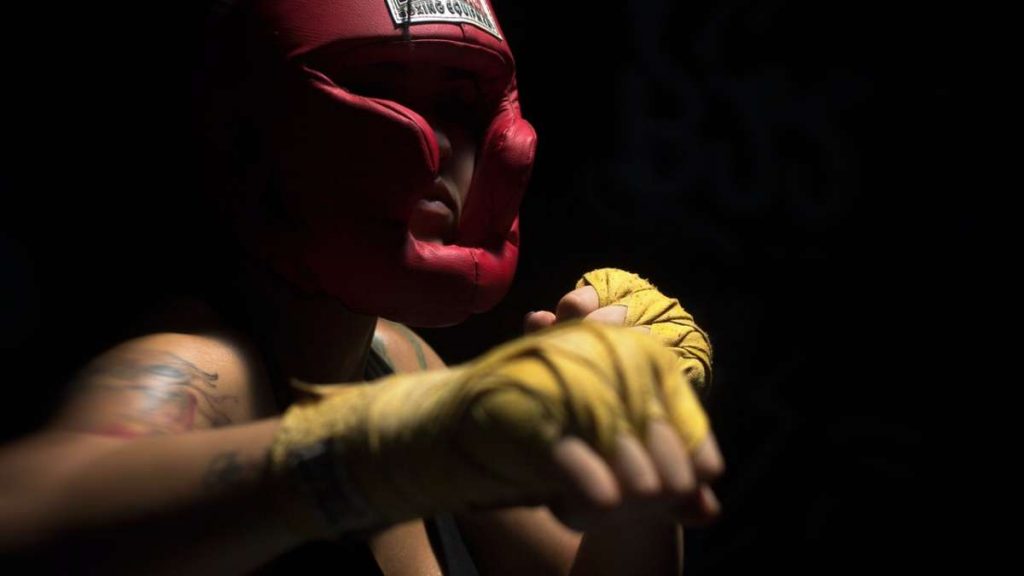
The single most common injury that happens in the world of boxing is to the hands. Boxing is a contact sport, and athletes in this domain need to protect their most valuable tools, their hands. When you see boxers in the ring donning boxing gloves, you may not realize that they have also wrapped their hands inside those gloves.
Since the hands, wrists, and fingers have many tiny bones, it’s imperative to tightly wrap them together to prevent fractures and dislocations while fighting or training. Once the hands are wrapped appropriately, protective gloves are then put over the hand wraps. Read more on the many types of boxing gloves available in the market and what factors to consider when choosing the glove. The choice of the glove matters a lot to the overall protection of a boxer’s hands and their winning chances.
Since wrapping the hands is a crucial part of boxing as a sport, this blog article discusses the proper way to do this and the benefits of doing this in the right way. Keep in mind that there are many ways to wrap your hands and that this is just a general guide to do this.
How to Correctly Wrap your Hands
To do this, you are going to need hand wraps. The appropriate length to the hand wraps should be 180″, although this also depends on the size of the boxer’s hands. A fighter with small hands can use wraps that are 120″ in length.
There are different hand wraps, and the choice depends on the kind of activity you intend to engage be it training on a heavy bag or competing in an actual match. The different types of hand wraps are;
- Cotton wraps
- Elastic wraps
- Gel wraps
- Competition wraps
- Tape and Gauze
1. Cotton Wraps
These are the most commonly used wraps in boxing. They are made from cotton cloths and are widely used because they are cheaper than other wraps. They are also popular due to their versatility, and one can find hundreds of guides on how to use them online. They come in a range of colors and lengths, and you just need to select the appropriate size to cover your fingers and wrists appropriately.
2. Elastic Wraps
Also known as “Mexican Style” wraps, they are slightly similar to the cotton wraps discussed previously, and the difference is that Mexican style wraps are elastic. The elasticity element of these wraps allows a fighter to bind their hands, wrists, and fingers more tightly hence offering maximum support and extra protection than their cotton counterparts.
3. Gel Wraps
These are basically “inner gloves,” which are worn underneath the boxing gloves. They look like fingerless gloves rather than wrapping them around their hands, and a boxer just slips them over his hands. The disadvantage of these wraps is that they don’t offer much support to the wrists and are therefore not popular as the conventional wraps. They are also more expensive than cotton and Mexican-style wraps. On the upside, these do not require one to know how to wrap their hands as one just slips them over their hands and knuckles.
4. Fast Wraps
These are relatively new to the market and are an alternative to traditional wraps. They are a fast alternative to cotton and Mexican-style wraps. They also offer good protection to the knuckles but lack proper support for the wrists.
5. Tape and Gauze
There is the choice used in professional bouts. Tape and gauze wraps are those that you see in the movies in which professional fighters wrap their wrists with white gauze and tape. The tape and gauze are rarely used outside the professional boxing world as they require lots of time. A boxer can also not wrap the hands-on their own and need another person to do this.
They, however, are the best in terms of comfort and the level of protection afforded to the boxer. There are rules regarding the amount of gauze and tape a fighter can use in a competitive match.
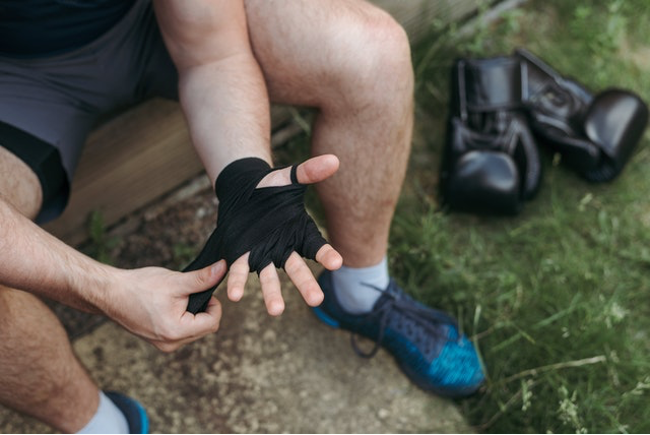
Now that we have gone over the types of wraps available for use, let’s go through the general procedure of wrapping your hands.
Step 1
Put forth your arm and stretch out your fingers as much as possible. Remember, the hand wrap is supposed to protect your hand while in motion, so stretching out your fingers is necessary to expose the wrap to all the hand’s moves during the training or fight.
Step 2
Put your thumb through the loop at the end of the wrap. Tie the wrap down the back of your wrist so that the wrap tightens when you make a fist. If you run the wrap down the front of your wrist, it will loosen when you make a fist.
Ensure the underside of the wrap is against your skin. When you wrap the wrong side down, you will encounter difficulties fastening the wrap in the end. Most wraps will be printed to let you know which side should face down.
Step 3
Tightly let the wrap run around your wrist 3-4 times to offer maximum support while in action. The number of times to wrap your wrist will depend on the level of support you desire. Some boxers opt to have some freedom of movement in their wrists to make angled uppercuts. Ensure the wrap is entirely flat and overlaps with each turn for maximum protection. The number of times to wrap your wrist will depend on the level of support you want.
Step 4

Now pull the wrap around the hand, running it 3-4 times until it is adequately secured. The wrap should cover the area between your thumb and index finger, running over the back of your hand and your palm.
Step 5
Now wrap your thumb starting from the bottom of your thumb, running towards the top, then back to the bottom again, and finish by running the wrap around your wrist.
Step 6
Next, run the wrap from the side of your wrist to cover the space between each of your middle fingers and back to the wrist again.
Step 7
Run the wrap around the inside of your wrist again and across your palm. Do this until the wrap is done, and fasten the wrap at the back of your wrist.
Now you are ready to put your boxing glove on and get in the ring!
Conclusion
Securing hand wraps on your hands is a fundamental activity for any boxer and is crucial to protecting the most critical part of his body involved in the sport. Doing this correctly will go a long way towards ensuring a long and prosperous career in boxing. This guide gives you the proper directions to ensure that you are one step ahead to achieving this!
