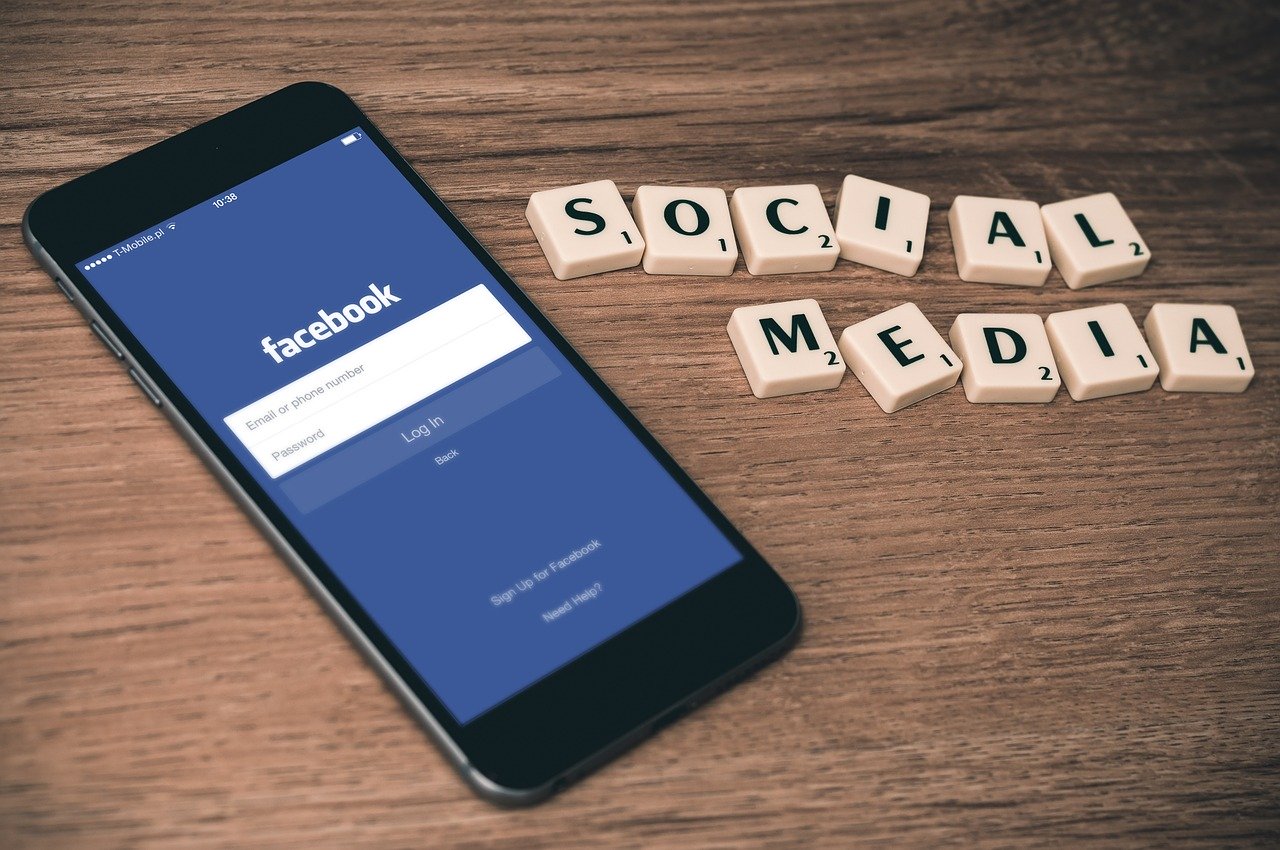
The longer you are an avid Facebook user, the more data you accumulate – in the form of added apps, uploaded photos, locations where you checked in. And that is not to mention the numerous status updates and adding/removing users from your friends’ list. Therefore, it is best to learn some life hacks that help you back up your Facebook data so that you never lose it for good.
Considering the layout of your Facebook account, you may notice that different types of data are stored in different locations. For example, your timeline stores text posts and visual content, as well as the interactions between you and your Facebook friends and business accounts that you are subscribed to. At the same time, your activity log serves as a record of all your actions ever performed in your account. And all your conversations and messages are stored in the inbox.
Even if you want to take a break from social media or permanently delete your profiles on numerous platforms, you would most likely not want to get rid of this crucial data.
Despite some recent controversial events related to Facebook and the safety of users’ personal information, today, you can easily download all your data from this platform. This way, your entire Facebook experience will be saved as a backup on your computer or portable gadget. If you still don’t know how to make backups or which service is best to use, click here and get top-quality help from technical experts.
How to Create Facebook Data Backups
Regardless of the reason you want to back up all your data from this popular social network, the process of creating a backup is not too complicated.
Besides, you will get copies of all your important media files that you can easily store on your laptop, smartphone, or removable media thanks to reserve copying. If Facebook one day ceases to exist, all your personal files and data will still be with you.
Now, to create backups of your Facebook files, be sure to follow the simple instruction given below.
- First of all, visit www.facebook.comby opening it in your favorite web browser. Look at the upper-right corner of the screen, and you will see a small downwards arrow on the icon panel. Press on it, and the options menu will pop up before you. Choose the “Settings and privacy” section.
- Proceed with selecting the “Settings” section. Find “Your Facebook information” in the list and click on it.
- Now, choose the “download your information” option, which will allow you to download all of your data, select the desired information and files, and/or transfer them to another service. Make sure the “Request copy” tab is open, where you can adjust the date range, format, and quality of media files you wish to download. Then, hit the blue “Create File” button and wait for the copy of your information to be created.
- Once the archive is generated, it will be displayed in the “Available copies” tab. Here, you will find a copy of your Facebook data, where you will be able to “Delete” or “Download” it.
- In case you want to transfer your files and information to another service, Facebook will make you confirm your identity by entering your password to avoid theft or malicious use of your personal data.
Congrats! You have successfully found out how to back up your Facebook data.
In addition to allowing its users to get their hands on the high-end copies of their logs, statuses, and selfies, Facebook offers the opportunity to review all accumulated information. Naturally, you won’t need to create an archive or download anything to do so.