Traveling with your devices can be a hassle if you don’t know your options: it can easily translate into hefty charges due to international data roaming, and other issues.
So, what can we do as an iPad owner to prepare it for international travel? Here, we will discuss 7 important tips you can use right away:
Table of Contents
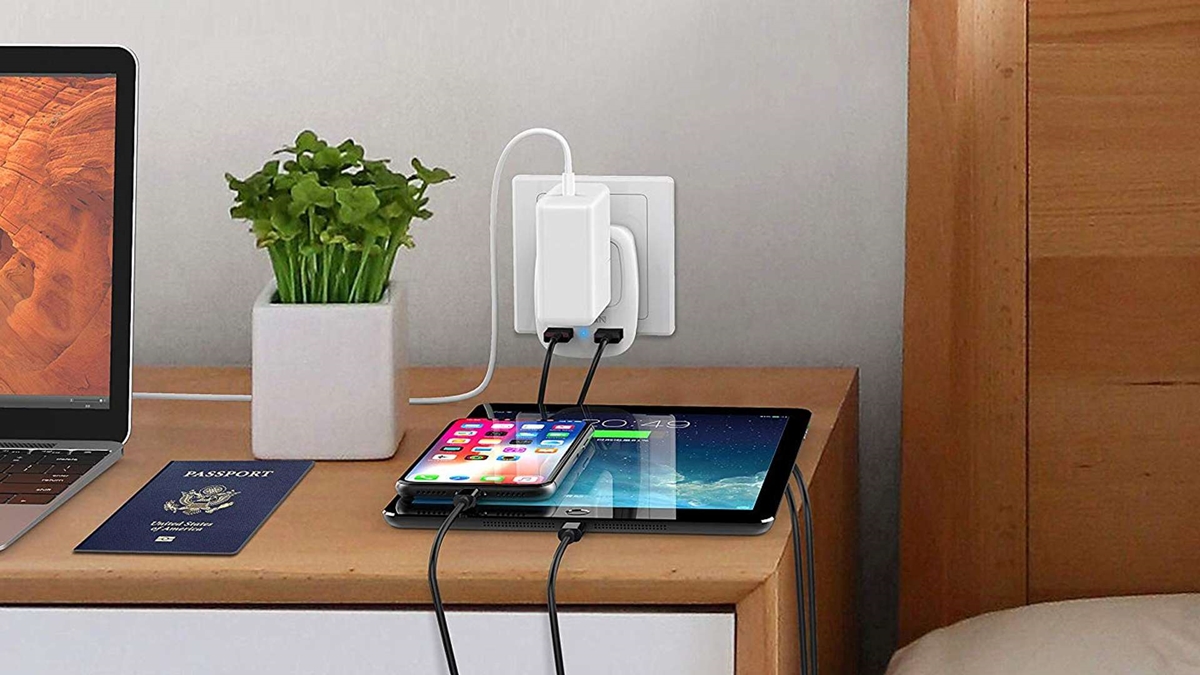
1. Make Sure You Have The Right Power Outlet
Your destination country might not use the same power outlet as yours, so it would only make sense to get one that is right for your target country. However, many first-time international travelers often forget about this.
You can easily do a quick Google search for your destination country’s electrical outlet, and you can get an Apple charger that fits your destination country’s outlet or get a travel adapter kit. Apple does offer its own World Traveler Adapter Kit, so you might want to get it if you are a frequent traveler (or are planning to be one).
2. Preparing Internet Connection for Your iPad
An important preparation is to ensure your iPad can have a reliable internet connection at your destination country.
Your iPad might or might not be cellular-enabled. Depending on your iPad model, cellular-enabled iPad might come with an Apple SIM (that you’d need to slot in the SIM card tray), embedded Apple SIM, or embedded eSIM (for the newest models).
and depending on this, we have a couple of options:
1. If your iPad is not cellular-enabled, then you’d have to tether your phone’s or other device’s internet connection to the iPad
Meaning, you’d have to get an international/travel plan on your phone, and then share it with your iPad. Tethering your internet connection is also pretty simple. If you are using an iPhone, simply go to Settings and choose Personal Hotspot. Turn on the Personal Hotspot and then create your Personal Hotspot password. Then, on the iPad, simply connect to the hotspot as you would any Wi-Fi network, and enter your password.
2. If your iPad is cellular-enabled with Apple SIM or eSIM
If your iPad has embedded Apple SIM or eSIM, then all you need to do is to get an international data plan that is compatible with Apple SIM. Truphone offers iPad data plans that you can use in 44 countries, so even if you visit different countries when traveling, you don’t need to change plans or carriers. If your device doesn’t yet feature eSIM/integrated Apple SIM, you can purchase an Apple SIM to use this plan.
Since you are looking for a travel plan, you might want to get a plan that offers a no-contract policy.
3. Turn-Off Auto Updates
You’d generally want to avoid using your valuable data from the international data plan for updates, which can easily eat hundreds of megabytes or even gigabytes of data. So, our advice is to download updates for your iOS and apps before you leave (ideally the night before you leave or even at your home airport).
After you’ve checked for all the latest updates, don’t forget to turn off auto-updates for both your iOS and your apps. Also, you might as well turn off automatic backups for all your apps and your iCloud backup.
4. Download Travel-Related Apps and Entertainment
Again, save your valuable data plan and download all the apps you might need before you leave. For instance, you might need a language app for your destination country, and you might also want food/hotel review apps like TripAdvisor, Zomato, Yelp, and so on. Also, download a reliable WiFi finder app that can help you locate nearby WiFi.
Also, not every plane has WiFi and the entertainment you’d get in your plane might not be sufficient. So, download your entertainment ahead of time, whether it’s ebooks and audiobooks to Netflix shows to mobile games.
In short, download everything you need before your leave
5. Save What You Need In iCloud
You often need some paperwork to keep track of for your travels, whether it’s hotel confirmation numbers, itineraries, and others. You might want to backup all of these in the cloud so you can find them easier. This will also help in cases where you lost your phone and/or your iPad, so you can still have the important files on your new phone (or other devices). You can simply sign in to the same iCloud account on the new device and download the files.
6. Protect Your iPad
While your iPad might not need a password or Face ID if you use it at home, you should create a password and other security measures like Touch ID or Face ID. So, even when your iPad is stolen, your data and sensitive information can be safe.
Another important thing is to turn on Find My IPad and turn on the ‘Send Last Location’ setting. This feature will automatically send the iPad’s location to Apple when it’s low on battery. So, whether your iPad is stolen or if you leave it somewhere, you can still find it as long as it is connected to the internet. This is why having an international data plan on your iPad, and not relying on public WiFi and tethering, is preferable.
Obviously another important benefit of Find My iPad is that you can put it in lost mode or even wipe the device, so you can protect your privacy and any sensitive data.
7. Correctly Tackle International Data Roaming
International data roaming can be extremely expensive if you are not careful. So, after getting an international data plan, make sure to turn off your international data roaming feature by going to ‘Settings’, ‘Cellular Data’, and then switching the toggle for ‘Data Roaming’ to off.
Also, always pay attention to your international data plan’s limit. You might want to monitor your data usage closely during your travels.
Here are also some tips related to international data:
- If your iPad displays incorrect date and time, make sure the iPad’s Automatic Time Zone feature is turned on. Go to ‘Settings’, ‘General’, ‘Date & Time”, then check Set Automatically
- If your iPad displays No Service even when you have an international data plan, make sure it’s set up properly and whether the plan is properly activated. If it’s still not available, try turning on Airplane Mode for 10 to 30 seconds, then turn it off. This will allow the iPad to retry searching for the best available network.
- You can also select a network manually by going to ‘Settings’, ‘Carrier’, ‘Turn off automatic’. You can then choose between the available networks.